Crop guide
Instagram Photo Sizes: Crop Feed Posts Without Losing the Subject
A strong Instagram edit begins before filters or captions: it begins with the crop. Feed portraits, squares, Stories, and profile pictures place different pressure on the same photo. Preparing a separate export for each placement keeps the subject intentional instead of leaving the final crop to chance.
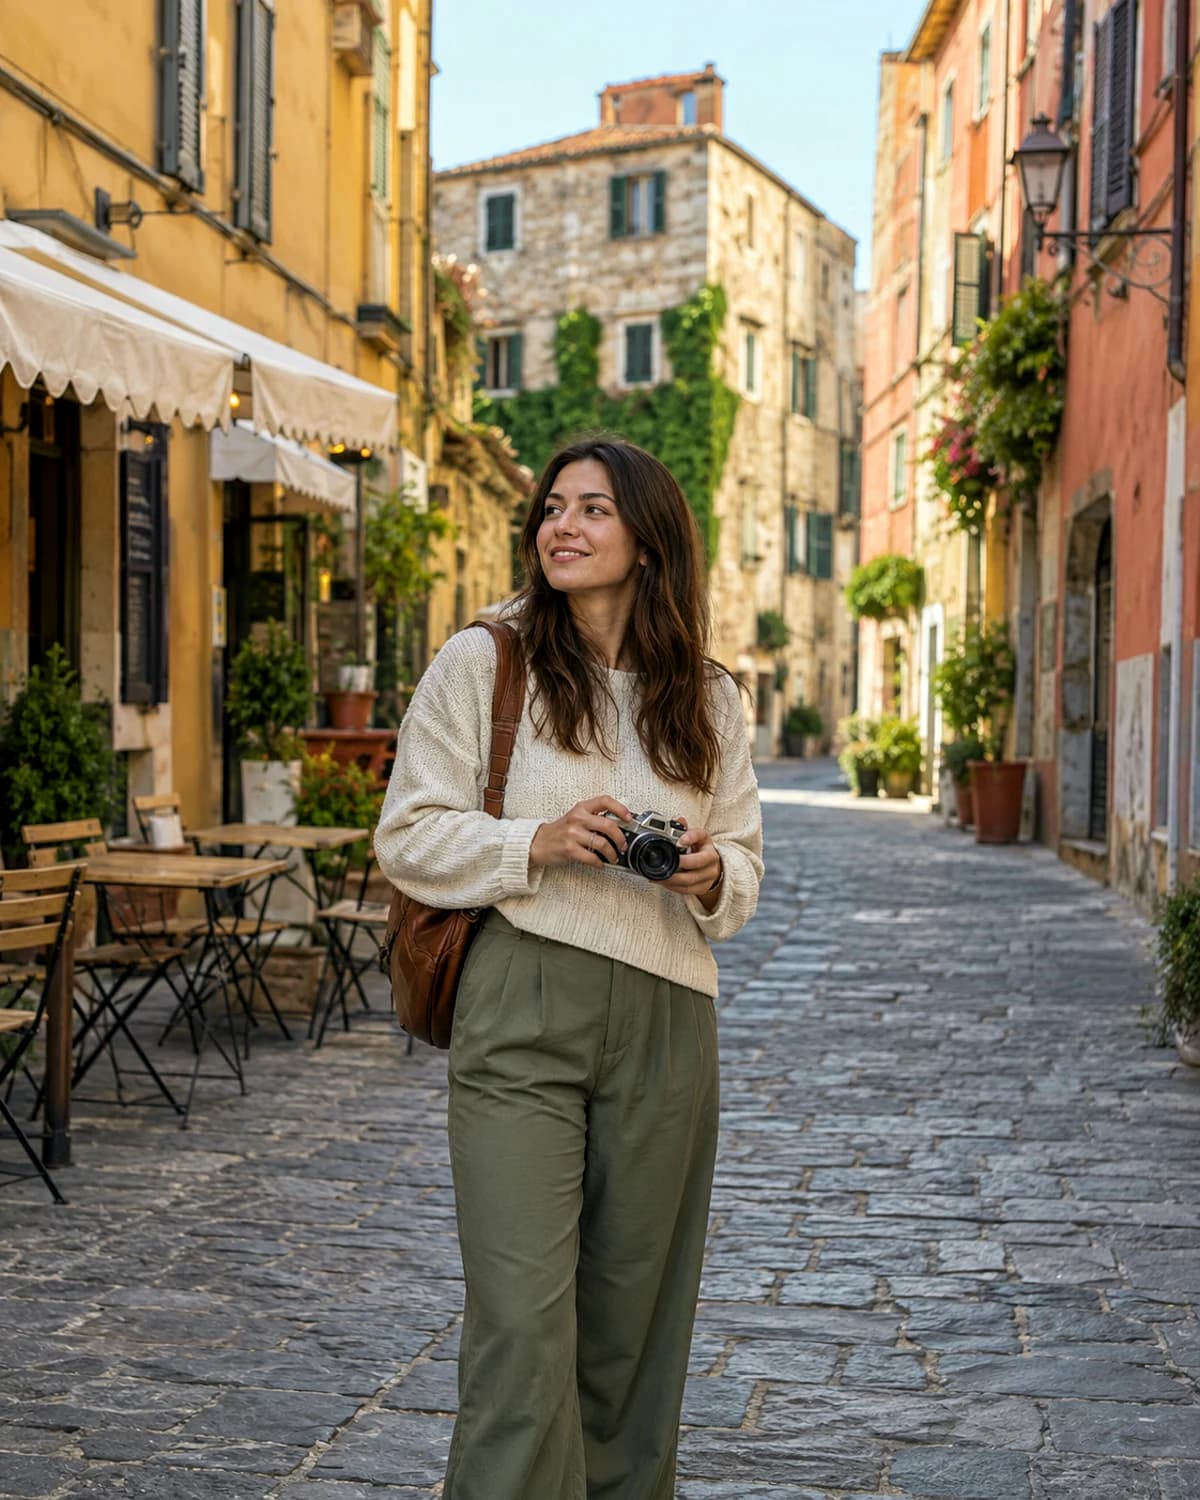 BeforeAfter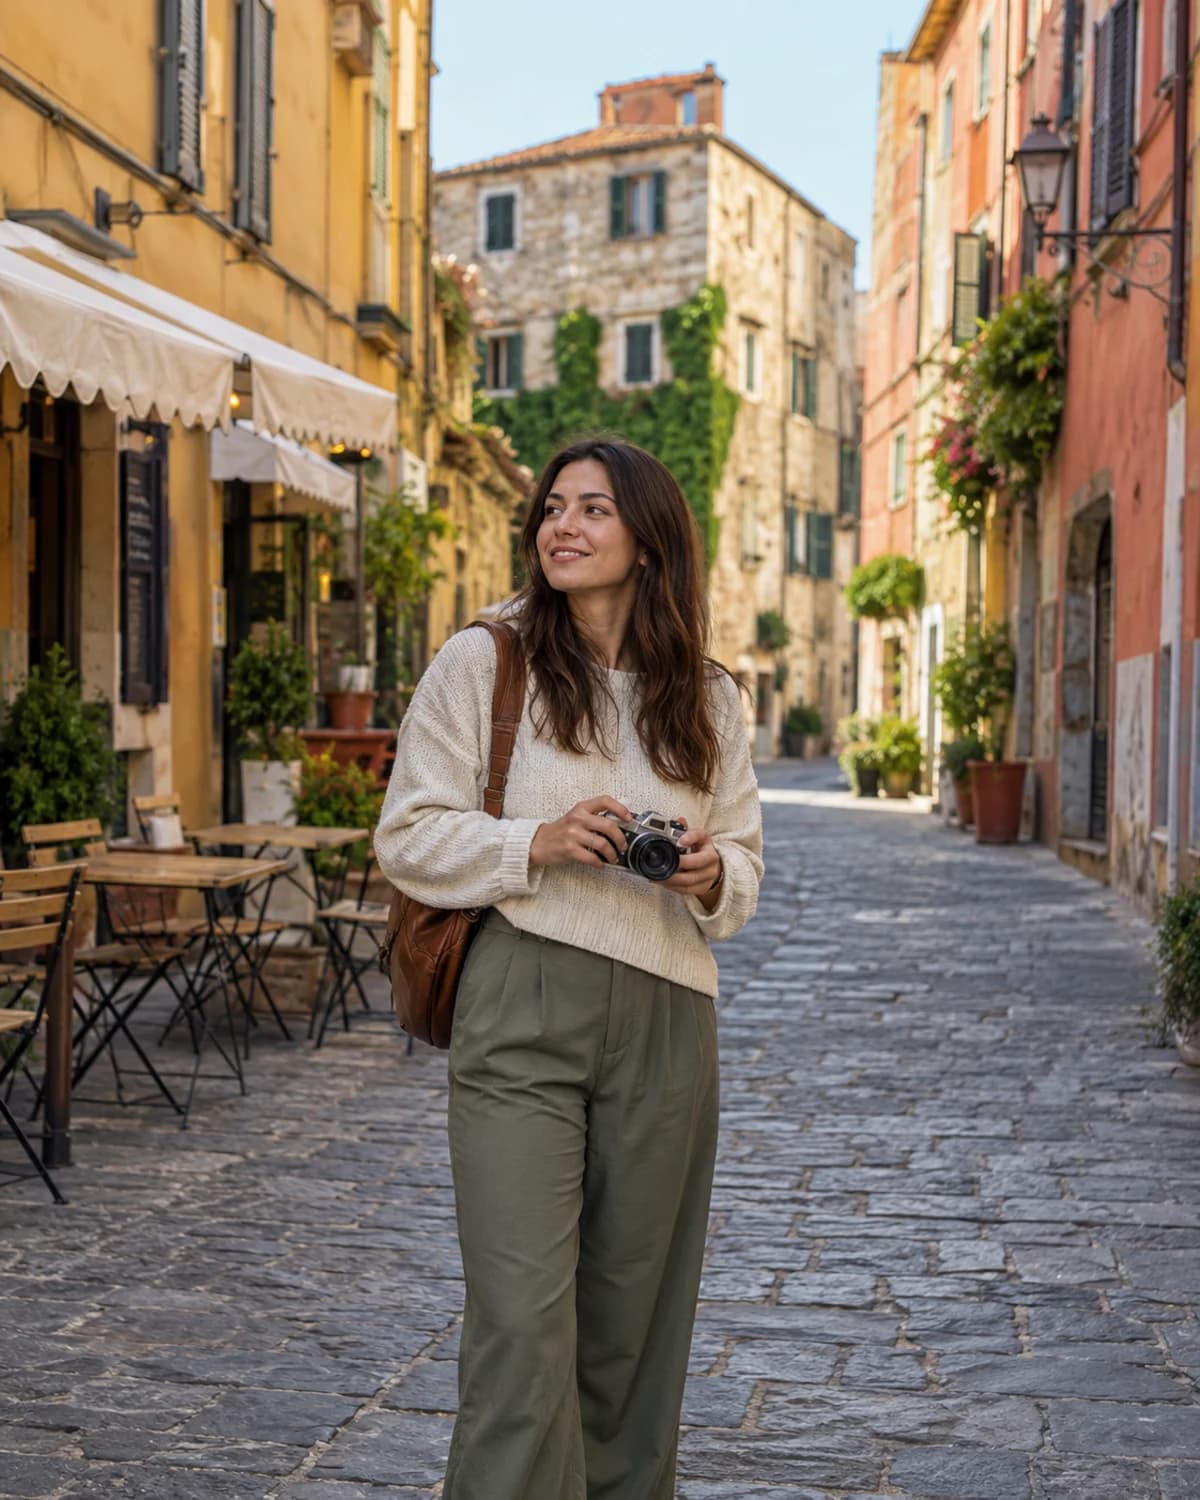
Choose a format for the placement
A 4:5 portrait uses more vertical feed space while remaining easy to scan. A 1:1 square is flexible for grids and simple layouts. A 9:16 canvas suits full-screen Stories and Reel covers, but interface elements can occupy the top and bottom edges.
For consistent working files, export feed portraits at 1080 × 1350, squares at 1080 × 1080, and full-screen vertical images at 1080 × 1920. Preview inside Instagram because visible framing can evolve.
- Open the highest-quality original.
- Select the ratio for one specific Instagram placement.
- Zoom only enough to fill the crop frame.
- Place the face or product away from vulnerable edges.
- Apply the crop and confirm its dimensions.
- Export a separate file before preparing another placement.
Build a safe composition
Keep eyes, product labels, and text within a generous central area. Leave breathing room above hair and around hands. For profile photos, imagine the square becoming a circle and avoid placing important detail in its corners.
Check quality after cropping
Cropping removes pixels. If the selected area is very small, exporting it at a large size cannot restore missing detail. Inspect the result at 100%, use restrained sharpening, and return to the original if the subject looks soft.
Practical tips
- Create a separate export for each placement instead of repeatedly editing one compressed file.
- Keep faces and important text in a generous central safe area.
Common mistakes
- Stretching a photo to force it into a new ratio.
- Assuming every Instagram preview displays the same outer edges.