Export guide
How to Export High-Quality Photos for Web, Social Media, and Print
Export is the final editing decision. A beautiful preview can still become a blurry, oversized, or incorrectly cropped file when dimensions and format do not match the destination. A short export checklist prevents most problems.
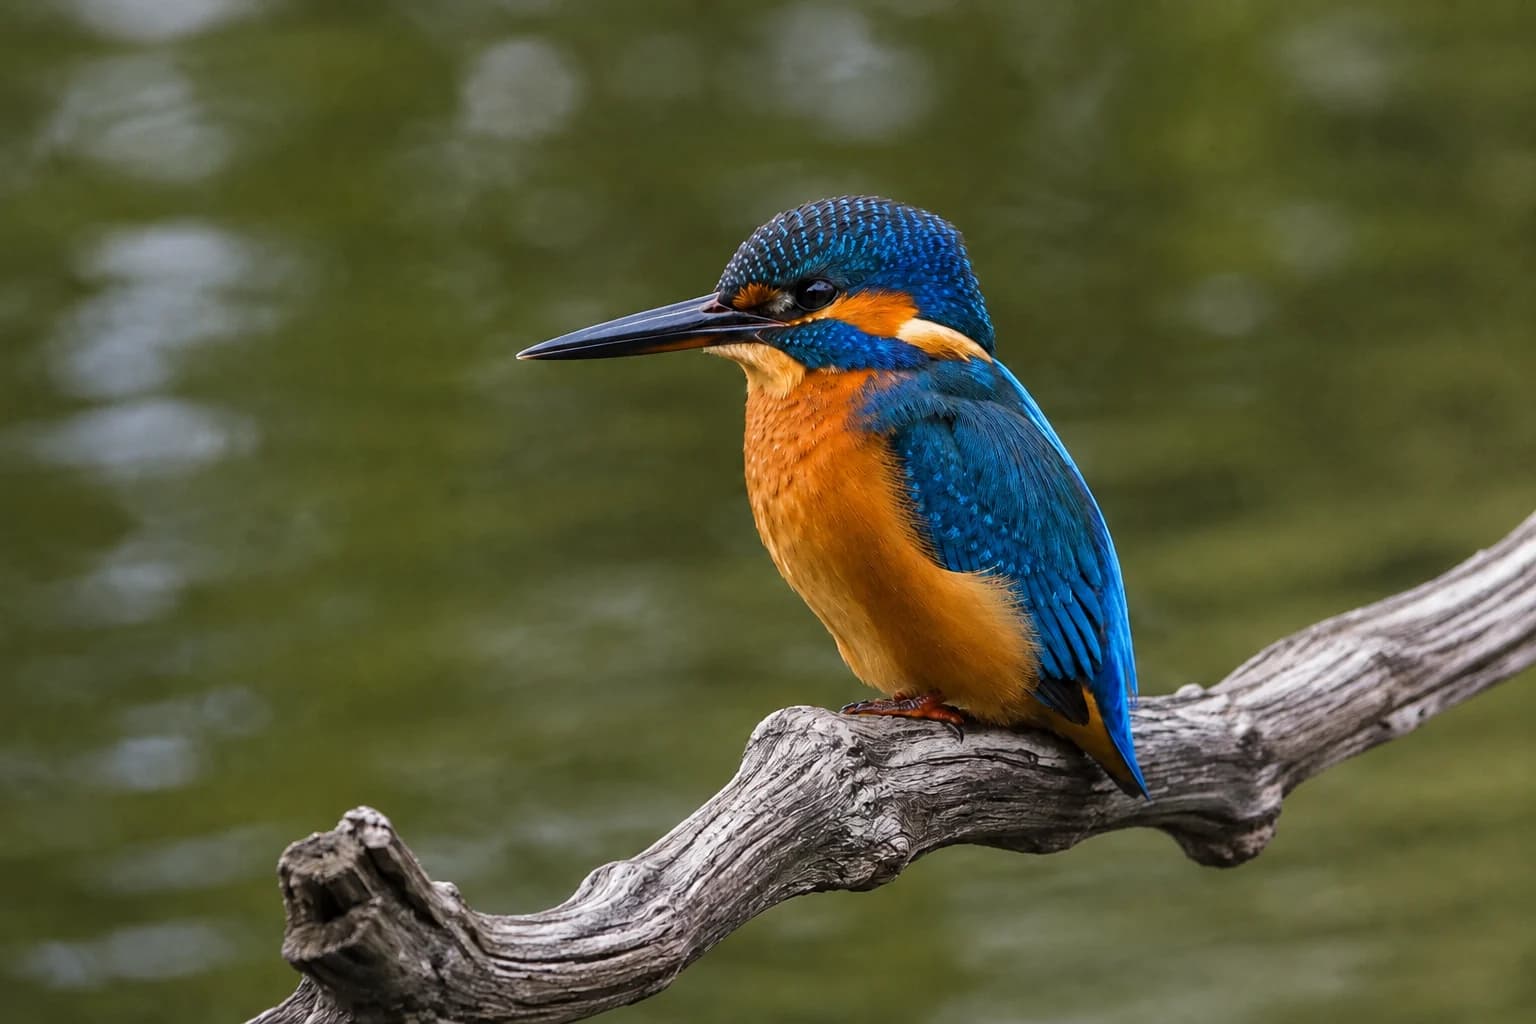 BeforeAfter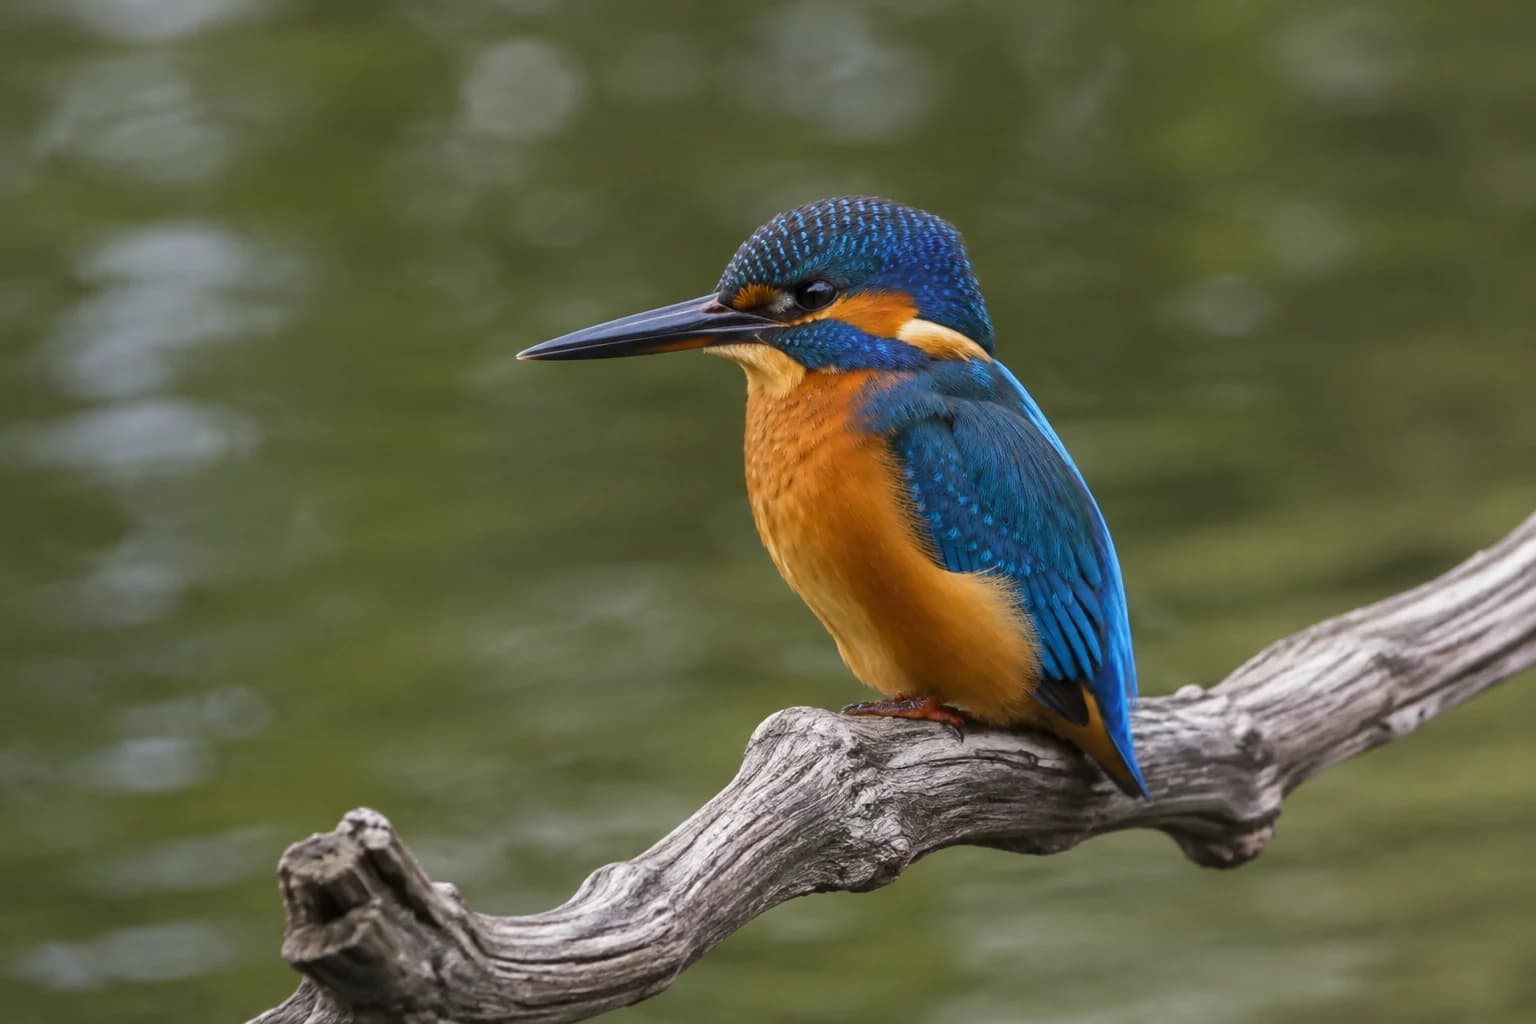
Start with pixel dimensions
Pixel width and height determine how much digital detail the file contains. For web and social use, export near the size the image will actually be displayed. Sending a very large camera file can slow uploads without improving the visible result.
For print, the required pixels depend on physical size and print resolution. Keep the original-resolution master and make a separate web copy instead of replacing it.
Preserve the crop ratio
After cropping, output dimensions should follow the new crop bounds. Keep the aspect-ratio lock enabled when resizing so a 1:1 image remains square and a 16:9 image remains wide. Unlock it only when you intentionally need exact dimensions and understand that distortion must still be avoided.
Balance quality and file size
JPEG and WebP quality settings trade file size for compression. Maximum quality is not always visibly better, especially on a phone screen. Inspect detailed areas such as hair, leaves, text, and gradients for artifacts.
PNG quality behaves differently because PNG is lossless. Use PNG primarily for transparency, screenshots, graphics, and text-heavy designs rather than ordinary photographs.
Final export checklist
Export from the edited state shown in the preview, not from the untouched source. Selection boxes, crop guides, brush cursors, and masks are interface overlays and must not appear in the result.
For a dependable Instagram photo workflow, 1080 pixels wide is a practical target: 1080 × 1350 for a 4:5 portrait, 1080 × 1080 for a square, and 1080 × 1920 for a full-screen Story. Platform presentation can change, so preview the final upload inside Instagram before publishing important text or edge details.
- Confirm the crop and displayed dimensions.
- Fit the image and compare with the original.
- Choose JPEG for ordinary photos or PNG when text and transparency need it.
- Set output width and height with ratio lock enabled.
- Preview at 100% and check fine details.
- Download and open the finished file before closing the editor.
Practical tips
- Match pixel dimensions to the destination.
- Open the downloaded file before closing the editor.
Common mistakes
- Confusing zoom level with export size.
- Repeatedly re-exporting the same JPEG master.