Basics guide
Brightness, Contrast, and Saturation: A Beginner’s Guide
The best photo adjustments are often small. Brightness, contrast, exposure, saturation, vibrance, highlights, and shadows overlap, but each solves a different visual problem. Understanding those differences makes editing faster and produces a more natural result.
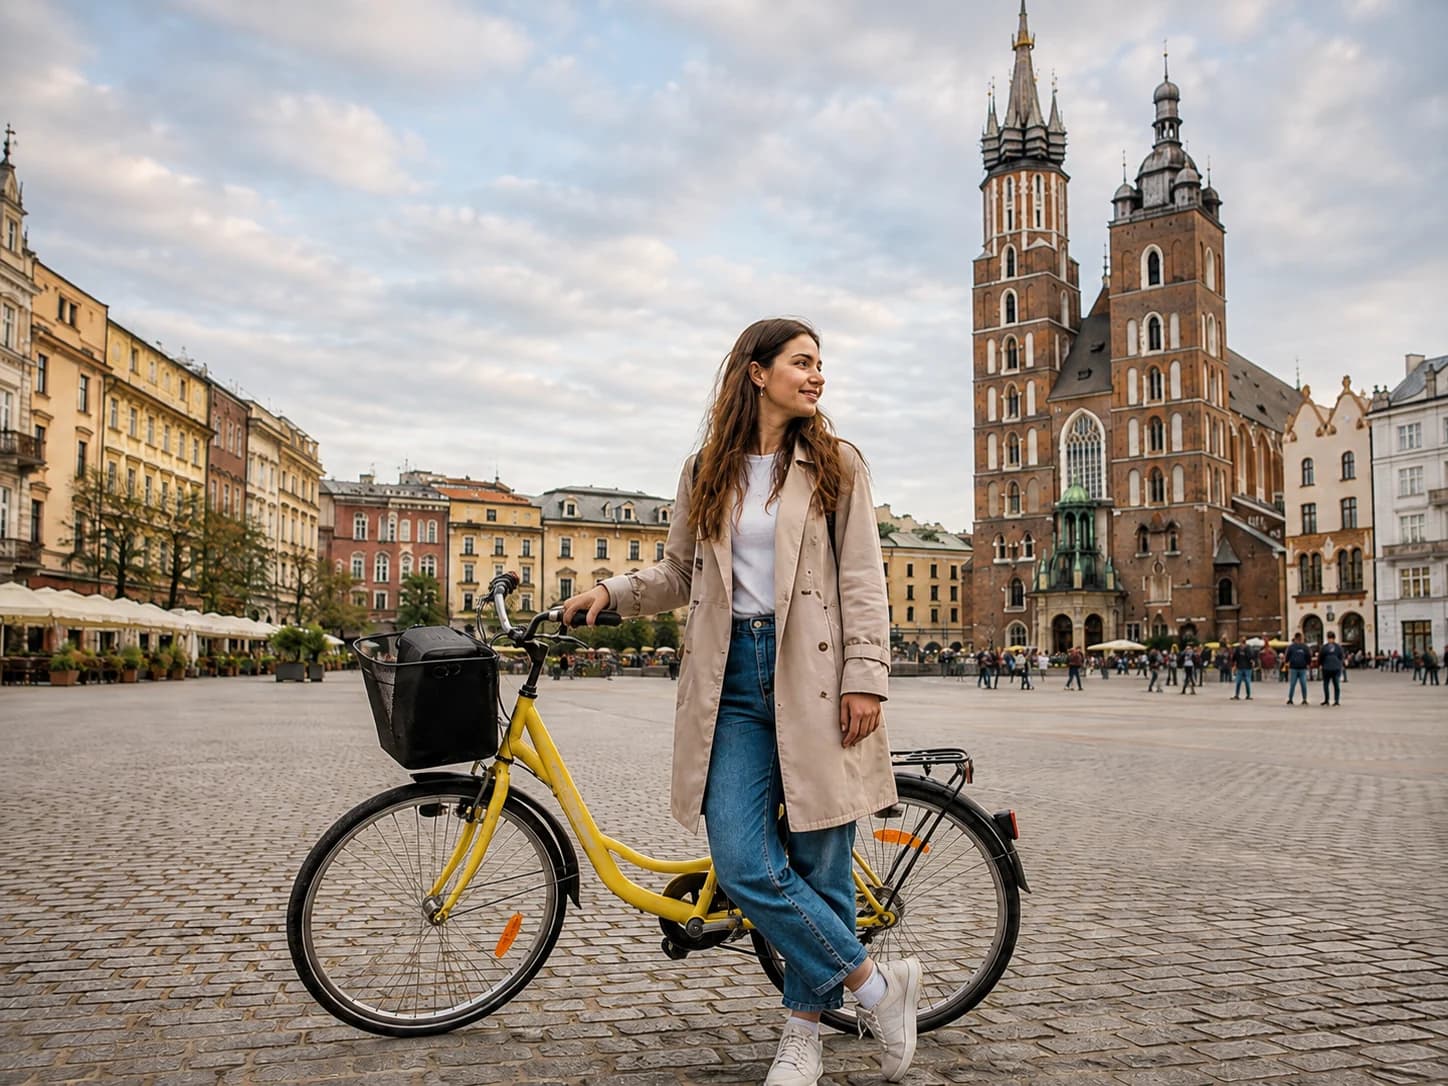 BeforeAfter
Start with exposure and brightness
Exposure acts like a broad change to the amount of light in the image. Brightness changes the overall appearance but may affect tonal regions differently depending on the editor. Use either control gently until the main subject looks correctly lit.
Watch the brightest areas while increasing light. If clouds, white clothing, or reflective surfaces lose all detail, reduce exposure and recover the bright regions with the highlights control.
Shape the image with contrast
Contrast increases or decreases the difference between light and dark areas. More contrast can add clarity and depth, but too much creates solid black shadows and harsh skin. Less contrast creates a softer look, although excessive reduction can make a photo appear gray.
Use shadows to reveal darker detail without lifting the entire image. Use highlights to control bright areas without making the subject dull.
Improve color without making it artificial
Saturation changes the strength of all colors. Vibrance usually emphasizes weaker colors more selectively, making it a safer first choice for portraits. Warmth shifts the image toward orange or blue, while tint corrects a green or magenta cast.
- Correct exposure first.
- Set highlights and shadows.
- Add moderate contrast.
- Correct warmth and tint.
- Increase vibrance, then use saturation only if needed.
- Compare with the original before exporting.
Use the reset controls
If an edit no longer looks believable, reset one adjustment instead of starting over. Frequent before-and-after checks help your eyes recalibrate. A useful rule is to reduce the strongest adjustment slightly after you think the image is finished.
Practical tips
- Correct exposure before increasing color.
- Check clouds, white clothing, and deep shadows for lost detail.
Common mistakes
- Increasing every slider at once.
- Using strong contrast to fix an underexposed subject.